Replacing Porsche Cayenne rear door struts: what the You-Tube videos did not tell you
August 29, 2016
There are a couple of decent instructional videos on You-Tube which show the replacement of rear door struts on Porsche Cayennes, but there are some gaps which my assistant and I explored recently on our project car, a 2004 Cayenne named Ruby.
Disassembly:
The videos do a good job on the disassembly process up to the point that you and your screwdriver must work in the dark to release the old struts from the balls onto which they are clipped. The comments which follow may allow the reader to avoid an evening of burnt-fingers thrashing about similar to the one I enjoyed last night.
Don’t bother with the clip which holds the cup onto the forward ball. You can’t reach it. The ball is very sturdy and you won’t be re-using the strut. Pry it off with a large screwdriver and brute force, applied in the direction of the centre of the car, wherever you can find leverage in the restricted area. Yes, that’s an explosive air bag an inch or so to the side of your screwdriver, but the cavity where these struts hang out is good, solid metal.
Once it is released, get into the back seat and reach over the headrest to remove the rear cup. Push or pry it away from the centre of the car. From the back seat with the help of a light you can actually see what you’re doing. Once the strut comes free, push it as far forward as you can, wiggle it to the best possible location to remove it, then persuade it out by compressing it a bit with the large screwdriver levered against the very sturdy sheet metal in this area.
Installing the new struts:
1. My aftermarket struts arrived with both cups on the ends oriented in the same direction. I needed to rotate one of these 180 degrees. This involves the services of a vice and pliers or some other brute-force applicator, as the cups clip on in opposite directions. A little grease on the cups would be a good idea.
2. There is actually a line of sight up to the forward ball from the rear luggage compartment, and you can see well enough to place the strut-end on the ball — as long as it isn’t actually up in the cavity where you must install it. Don’t put it on yet. Once you have forced both ends of the strut into the cavity (which is 1/8″ too short for it) this advantage is lost, but at least you know where it should go.
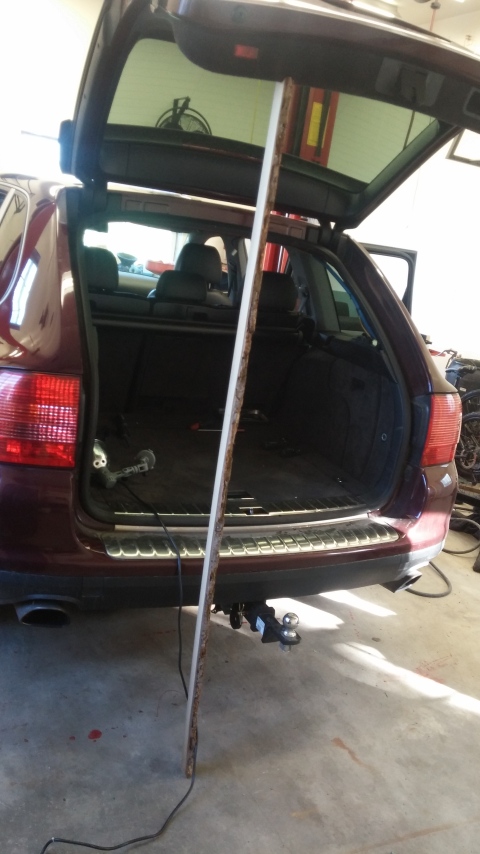
3. If you’ve put a bit of grease on the cups, the first “click” onto the front ball goes very easily. (Getting it off again is another matter, so don’t experiment too much here.) The second click onto the rear ball (on the other end) can be achieved (from the back seat again) if and only if the rear door is held at the correct height. A piece of scrap lumber from the shop, band-sawn to the contour of the door’s bottom so that it held the door’s lower edge 75 1/4″ from the garage floor, allowed both ends of the strut to pop in without the use of force. There’s enough taper to the bottom edge of the door to allow for some adjustment using this dimension.
Reassembly: The videos do a good job on most of this, so I’ll just offer a couple of observations.
1. The plastic panels are quite durable. Removing pulled-out clips from the sheet metal slots on the body and re-attaching them to the panels is not a delicate procedure. Just remember those explosive air bags and take your time and be careful to locate all pins and reconnect them to the plastic panels. I kept loose metal parts on a magnetic tray in the hatch with me. You do not want to lose a screw.
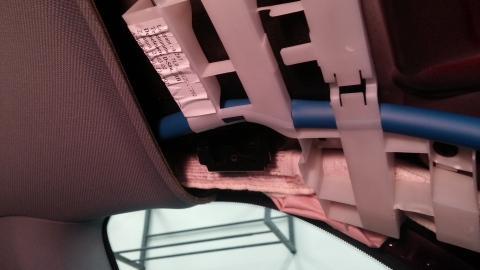
2. Those white filler pieces gave me the most trouble, even after I had photographed one to determine its position relative to the panels and the cable before I removed it. HINT: start with the screw the furthest from you. I wasted far too many minutes trying to find its hole after I left it until last.
3. Lost speaker wires can be recovered from the luggage compartments below on either side.
4. The trim panel won’t fit properly until you have screwed the tiny torx screw into that safety-screen holder. That tightens the whole thing up. The trailing end of the left side panel on mine decided to act up. There’s a plastic pin on it which refused to reunite with the corresponding hole on the black piece below. A few probes by a 5/8″ woodworking chisel with a view to cutting the pin off (there was none on the right side) resulted in the trim popping into place, so I put the chisel away, recalcitrant pin intact.
The Porsche feeling:
The car is more my own after I have taken it apart and fixed it.
The You-Tube videos gave me the courage to tackle the job. Initially it was a challenge for a non-mechanic, but once I realized that the components are quite durable and there is room for the use of common sense in Porsche repair, it went well.
